Install Android Studio
In previous section, we installed Android sdk as standalone and made it available to our build environments by setting PATH variables.
In this section, we will set up Android studio
Note: Android Studio is NOT required for building, deploying or testing apps. It is a developer environment to develop apps
There are however many benefits of having Android Studio because the IDE centralizes accessibility of features like updating SDK, ADB, device monitor and looking at logs etc. Hence it is strong recommended to install Android Studio
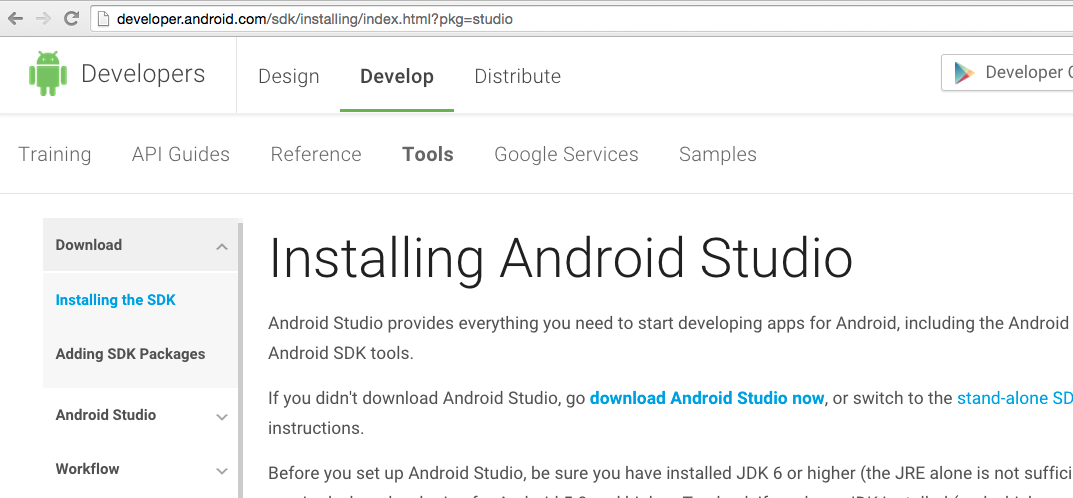
Download and install
Download from here

Follow the instructions and install
Android Studio Basics
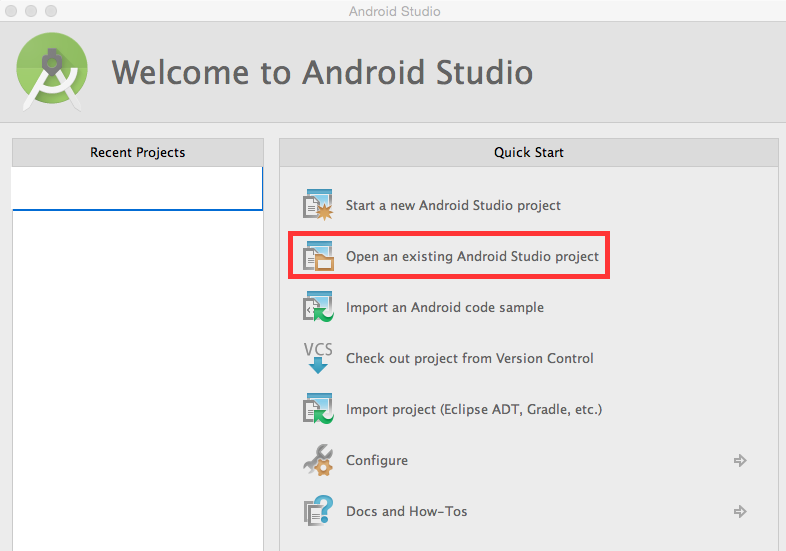
Step1: Open Android project
Point to the Android project that you are working on as below.

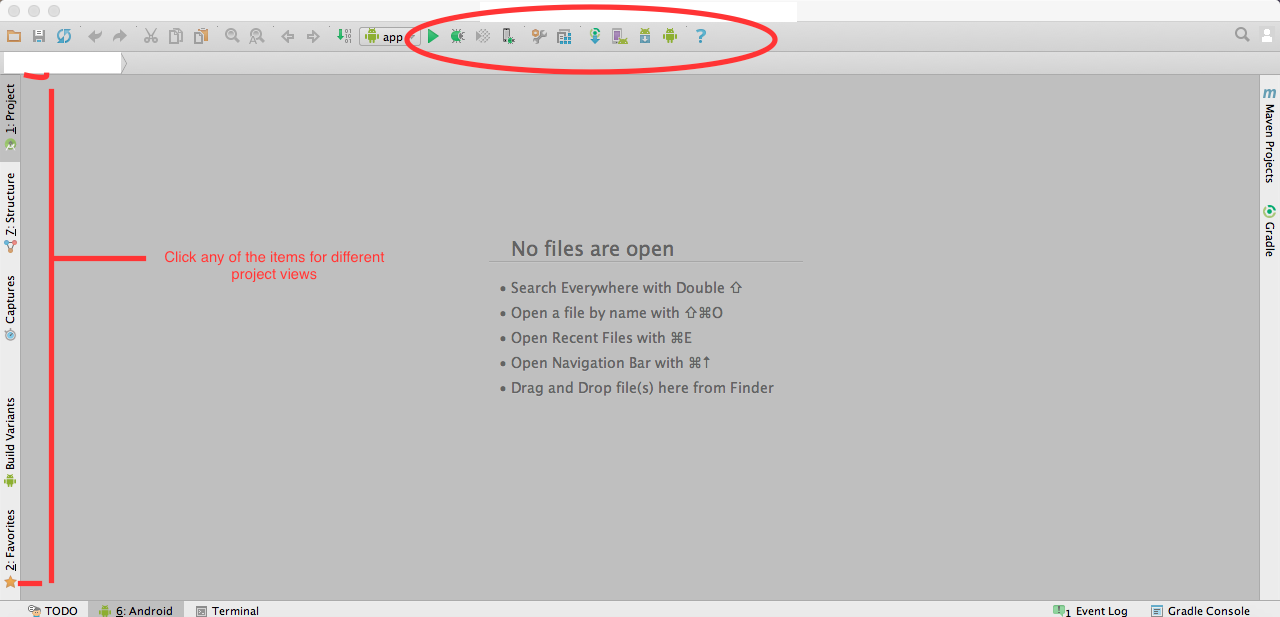
Step2: Useful features

Hovering over the icons in the oval above shows you options related to
- AVD Manager: This will launch AVD manager. We will understand how to create emulators and manage android virtual devices in another section
- SDK Manager: This will help you manage all updates to android SDK
- Android Device Monitor: This will let you monitor your android device when connected and talking to ADB
Associate system SDK with Android Studio
By default Android studio comes bundled with Android SDK. However if you are already using an SDK bundle (as we mentioned in previous section if you already have sdk downloaded and set in another folder), then point it to that as below
This book will use an SDK downloaded separately because we intend to have the flexibility to be able to build, deploy and test with & without having Android Studio.
At the left top, Android Studio -> Preferences should open up this page. Edit the value to point to the folder where you have downloaded Android sdk
